Thursday, November 18, 2010

Product Review: Cuisinart Soft Serve Ice Cream Maker

We had been saving up to buy a Cuisinart Soft Serve Ice Cream machine for our family since this summer and the price dropped by $10 last week, so we finally ordered it.  It came this week and we finally gave it a good test run.  It ROCKS!!!  So far we have learned....make sure you freeze it as long as it says before using it.... and once it gets thick enough, either use it or turn it off because it doesn't like to dispense if it gets too thick.  We love the dispenser and mix ins and the vanilla recipe is pretty good, as is the cheesecake.  We are SUPER excited about our new toy!!!


Monday, October 4, 2010

Gourmet cooking for newbies - Chicken Cordon Bleu

I had a special request for this one, so it is going to be VERY detailed, but that is a good thing, right?  Bear with me.  It is long, but SO worth it.  Chicken cordon bleu is one of my favorites, but it seems so scary and overwhelming to make.  But guess what....it really isn't.  You ready?

Here is what you will need (serves 4):
A small square baking dish
4 boneless skinless chicken breasts
5 zipper sandwich bags
4 slices swiss cheese (we used baby swiss)
4 pieces of ham (we used half slices of deli ham - not shaved, just kind of thinnish)
12 toothpicks
Plain Bread crumbs
Dried onins
Garlic salt
Italian seasoning
Pepper
Unsalted butter (2 tablespoons)
Heavy whipping cream (1 cup)
Cream cheese (4oz - 1/2 a package)
3 cups shredded cheese (we used a fiesta blend)
Milk (for thinning the sauce if it is too thick)

First, preheat the oven to 350 degrees.

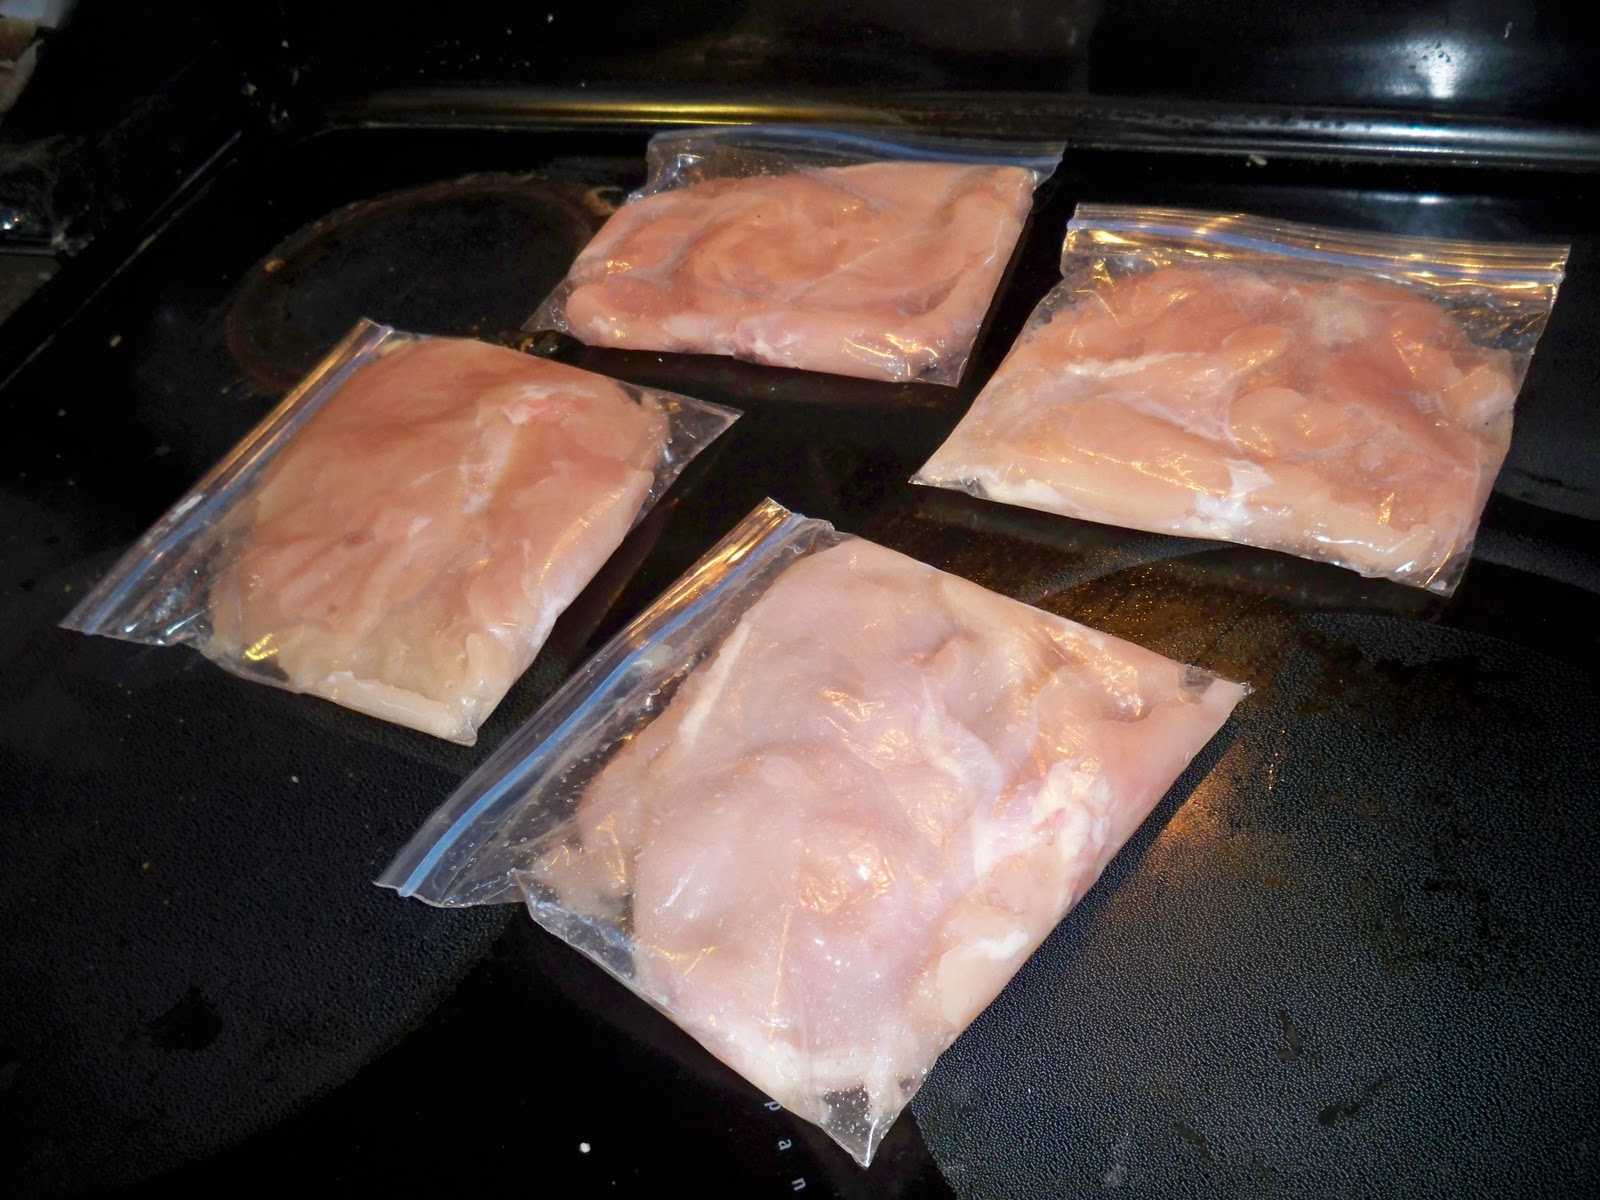
Next place each chicken breast in a separate sandwich bag.

 Then pound each chicken breast until it is thin and fills the bag, but stop pounding when it starts to tear.  I used my fist, but Tom had better luck with a hammer.  Yes, I mean a hammer from the garage...

Next we will roll it up with the meat and cheese.  Here is the cheee we used.  There are 4 slices here.

Here is the ham we used.  Two full slices, each cut in half.

Next, place a chicken breast on a plate with the smooth side up (I think we may have taken the picture with the wrong side up).  You want the more torn, textured side down when we get to the rolling part.  I promise.

Place a slice of cheese on top of the chicken, making sure it doesn't go all the way to both ends, folding it away from one end if needed (the right edge is folded over in the picture).

Then place the ham on top of the cheese.  You want it somewhere between centered and off to the edge that the cheese touches.

Then you will roll it up, starting from the edge that the cheese touches and rolling towards the edge where it is folded back (or doesn't touch).  If you didn't put the smooth side up before, you will be cursing yourself now.

Once it is rolled up, lay it seam down and place 3 toothpicks in it.  They didn't show up in the picture, but they are in a line, with one in the center at the other two closer to the left/right edges of the roll.

Then spray your square baking dish and place the rolled up chicken in the pan.  Repeat the steps above until you have used all your chicken breasts.  Notice the toothpicks in this picture.

Now it is time to make the breading.  We start with plain bread crumbs.

Pour a good amount of them into your remaining bag.

The other spices for the breading are: dried onions, garlic salt, Italian seasoning

Put in a little of each.  I didn't measure, we just did what sounded good to us.  Then zip it and shake it.

Now sprinkle the breading over all the chicken, making sure to push them apart to get breading on the sides by the pan and between the rolls.

Now place the dish in the oven and set a timer for 45 minutes.

Now we will, make the sauce.  We start with 2 tablespoons of butter.

Place it in a saucepan and heat it on the stove on High.  While it heats up, add in some garlic salt and dried onions for flavor.

Once the butter is all melted, we are ready for the next step.

Next we add 1 cup of heavy whipping cream.  Once it starts to bubble, turn it down to Medium.

Now we add 3 cups of grated cheese.

Stir the sauce until the cheese is all melted in and smooth.  Add in some pepper, mostly for color.

Add 4oz of cream cheese.  That is half a package.

Stir over Med to Low heat until it is all smooth and melted.  If it is too thick, stir in a little milk to thin it out to your desired thickness.

Keep the sauce on Low or Simmer (your lowest setting) until the chicken is ready.  You don't want it to burn or get cold.

Check on the chicken regularly so that it doesn't burn.  When the timer goes off, cut into the fattest roll to see if it is pink.  If needed cook for another 5-10 minutes.

When everything is ready, serve the rolls up with sauce on top.  A good side dish would be broccoli or green beans or asparagus.

So was I right?  Not that scary?  I didn't think so.  Even making it up as we went, it turned out well.  Try it out and let us know what you think.

A touch of fall at home

I love fall, but I am not big on decorating my house for it.  We do, however, like to decorate our front porch for the fall.  For any of you who may have a hard time coming up with something cute, I decided to post our front door display, which was set up today after a trip to the pumpkin patch.  The total cost this year was $28.25 and we bought the scare crow after Halloween last year for about $10.  The pumpkins will eventually be carved up for fun, so they serve double duty.  But without further ado, our display (and you can compliment my husband, Tom, if you think it was nicely assembled because he set it up while I was at work):

Thursday, September 9, 2010

Homemade Jam

My apologies... I have still been slacking. Let's blame it on pregnancy.  However, I recently made homemade jam... the instant kind.  I made one pint of blackberry from berries we picked from our garden.  It is yum, but turned out a bit thinner than Tom wants so I will have to use more pectin next time.  I made a 3 pints from strawberries that were on sale for $1.50 a pound and I LOVE it.  If I remember, I will smear some on cream cheese on a bagel for breakfast tomorrow.  Yum!!


As for the "how to" part... well, it is VERY simple and the instructions are on the pectin package, but I will indulge a little.  I bought a single pouch of Ball instant pectin.  For each flavor, I put the fruit in my mini processor and blended until there were no more big chunks.  Then I mixed the required amounts of sugar and pectin in a bowl, stirred, and dumped the fruit in.  Then you stir some more (3  minutes I think) and pour it into the desired container (we bought cute glass jars, but those shouldn't really be frozen so we put some into tupperware for the freezer).  It takes a good 30 minutes or more to set up, but you are done!!  Freeze or refrigerate.  It is good in the fridge for up to 3 weeks.  ENJOY!!


Wednesday, August 4, 2010

Strange bananas?


For those of you who don't know, those strangely large and straight bananas are actually plantains.  We love them in our house.  There was a mutant double plantain (as in two of them stuck together in one peel) in our Bountiful Basket last weekend and we were excited!  If you aren't familiar with them, you probably don't know what to do with them either.  Our favorite way to eat them is fried.  In fact, I don't think I've ever eaten them any other way.  But fried plantains are so YUMMY that I have never looked for another way to eat them.

So here is how to prepare them:

Pour a layer of oil into a frying pan and heat the oil (we had our burner on high)

Cut the plantains at an angle so that you get ovals instead of circles

Then peel the slices and place them in the frying pan


When the bottoms begin to brown, flip them over to fry the other side.  When both sides are browned, remove them from the pan and place them on a paper towel in a plate to remove excess grease.


Pretty simple, huh?  Wondering what else to eat with them?  We always eat them with refried black beans.  Unfortunately, Walmart didn't have any, so we bought canned black beans instead.


To "refry" them, you need to drain them and dump them in a sauce pan.  Heat them up on medium.


After some experimentation, we decided the best way to mash them up was with an egg beater.  We did this intermittently as they cooked up and got softer.  The finished product looked a lot like the refried beans you are familiar with but slightly darker.


This is seriously one of our favorite meals.  The fried plantains are the perfect combination of sweet and crunchy and soft.  Plantains are better for you than bananas.  Yes, yes, we fried them...but use a healthy oil and remove excess grease and it is still not so bad.  I promise, if you try fried plantains, you will NOT regret it.  YUM!!


Friday, July 30, 2010

Chicken Fried Steak

The other day my little brother was craving chicken fried stake, so we went shopping for ingredients and made our own. Would you like to know how?  I will tell you....

Here are our ingredients:

cube steak


Chicken seasoning (we use it on all meat), garlic powder, and black pepper (not pictured: flour, eggs and oil)


First we mixed the dry ingredients in the amounts we felt like (primarily flour) in a zipper bag to form the breading

Then we scrambled eggs (and a little milk) in a pie pan to dip the steaks in


Next up, we dipped the steaks in the egg then shook them in the breading bag


Meanwhile we heated oil in a frying pan


Then we put the steaks in the frying pan


We also made mashed potatoes and gravy.  The gravy is kind of essential, but you could make any sides you want.  For the gravy, we just bought a cheap mix and followed the directions.  Here is the one we bought:


There you have it.  If you try this out, let us know how it goes!


Related Posts with Thumbnails